Clipping Mask
But there is still something missing, right? Yes, that grey shadow inside the circle. We could use several different techniques to do that, but here we will use a very simple one to avoid useless manipulations. First, we will go back to the tail picture and, creating a new path, we will path this shadow. To keep the shadow effect, we want the edge of that grey shape to remain a bit blurred, but of course only the part where the shadow meets the inner white circle should be blurred. The outer circle rim should obviously remain as sharp as the rest of the circle perimeter. How can we achieve that? Very simple, we will use a clipping mask!
So let’s path this shadow. Only the inner circle shape matters, you will soon see why. So we end up with a shape like the one in the screenshot below and we will fill it with pure black. Since it will be on a white background, we will get the right shade of grey by simply decreasing the layer opacity until we get the right colour.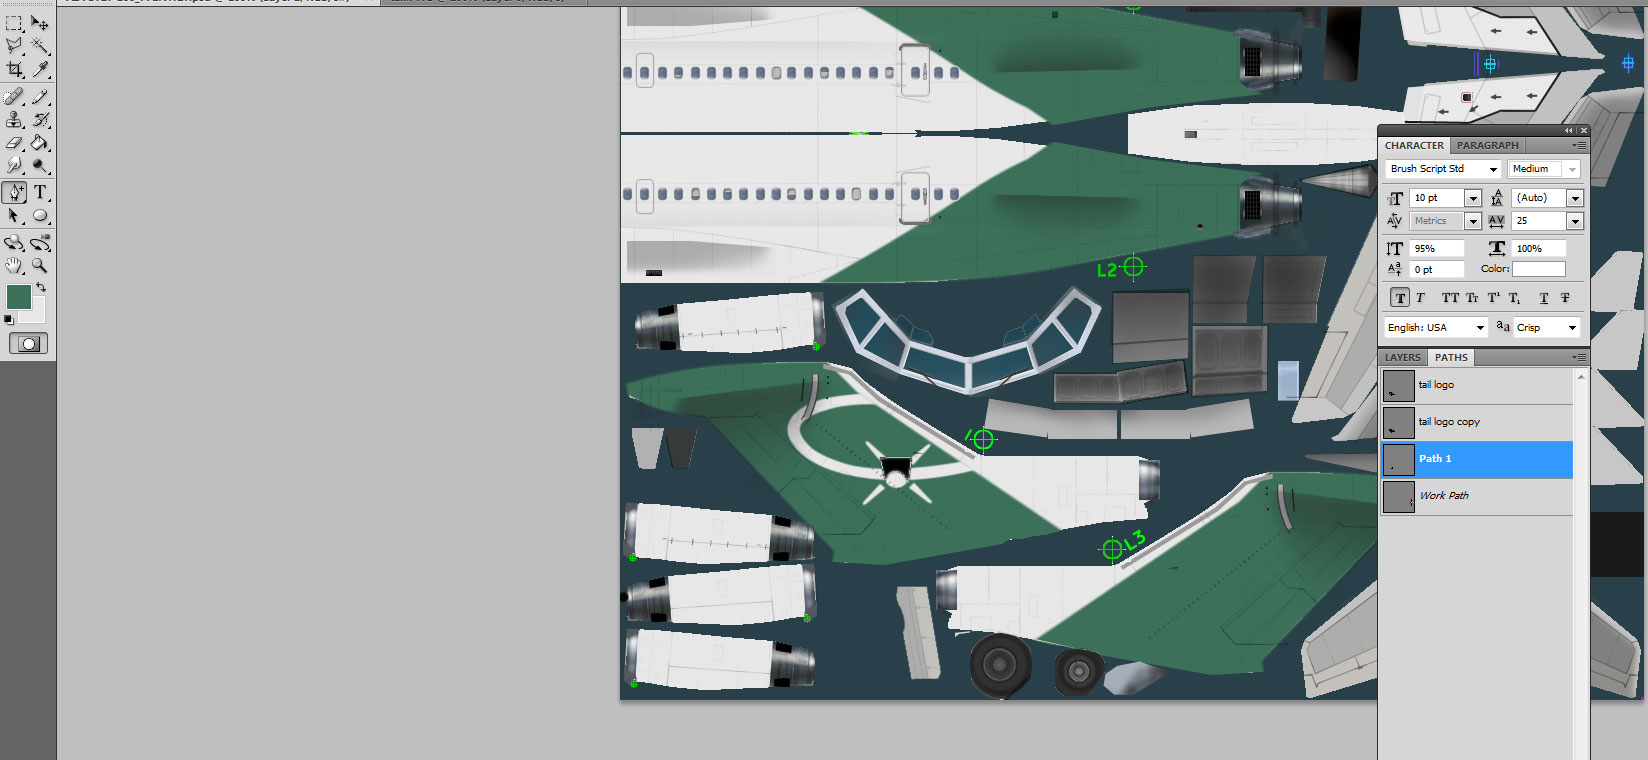
Since we want to keep the blur effect, we will not use the sharpen filter on this one. In fact we might use a blur filter if needed, but it is not really needed here. Now to the clipping mask. We make sure that this new black shape’s layer is selected, and is located right on top of the layer containing the white circle.
Press control+alt+G and you have added the clipping mask effect to your layer
only the portion that intersects the layer below will show up, in other words, only the part of our black shape located within the white circle below will show up. All we have to do now is decrease the layer opacity to around 20% to get that grey shade we needed.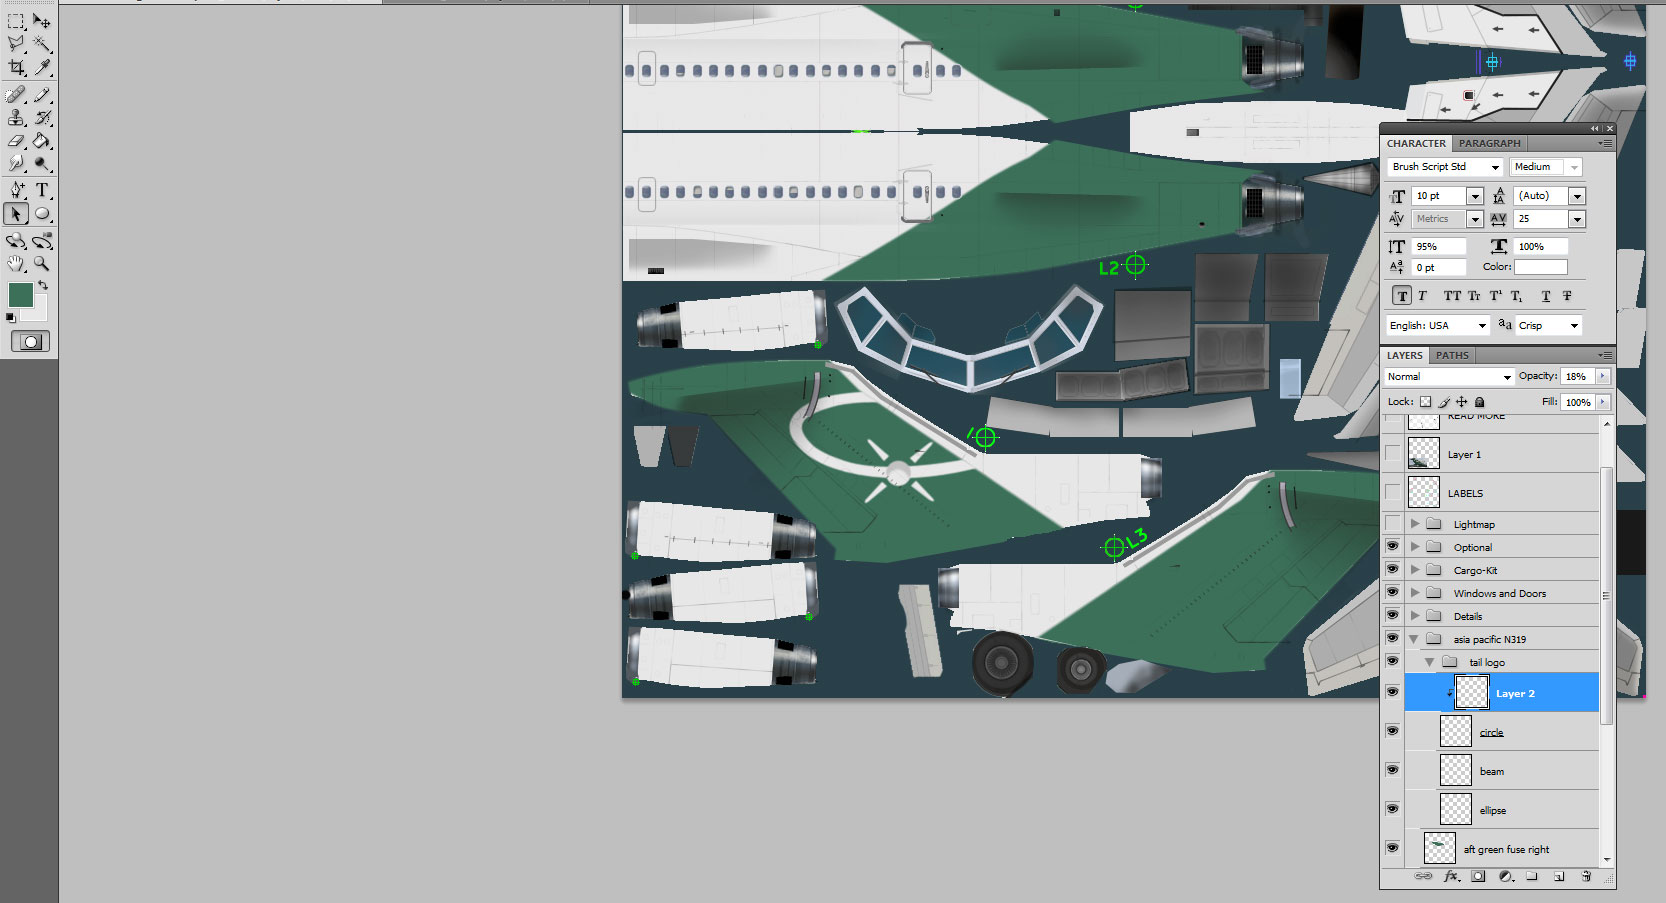
Now the whole logo is complete, we can copy and paste it on the other tail side. To make sure that it is positioned in exact symmetry, we will once again use the cross-hair markers. As you can see in the screenshot below, I have added a new layer, and using a white 1pixel pencil tool, I have marked the cross-hair tips and outlined the centre.
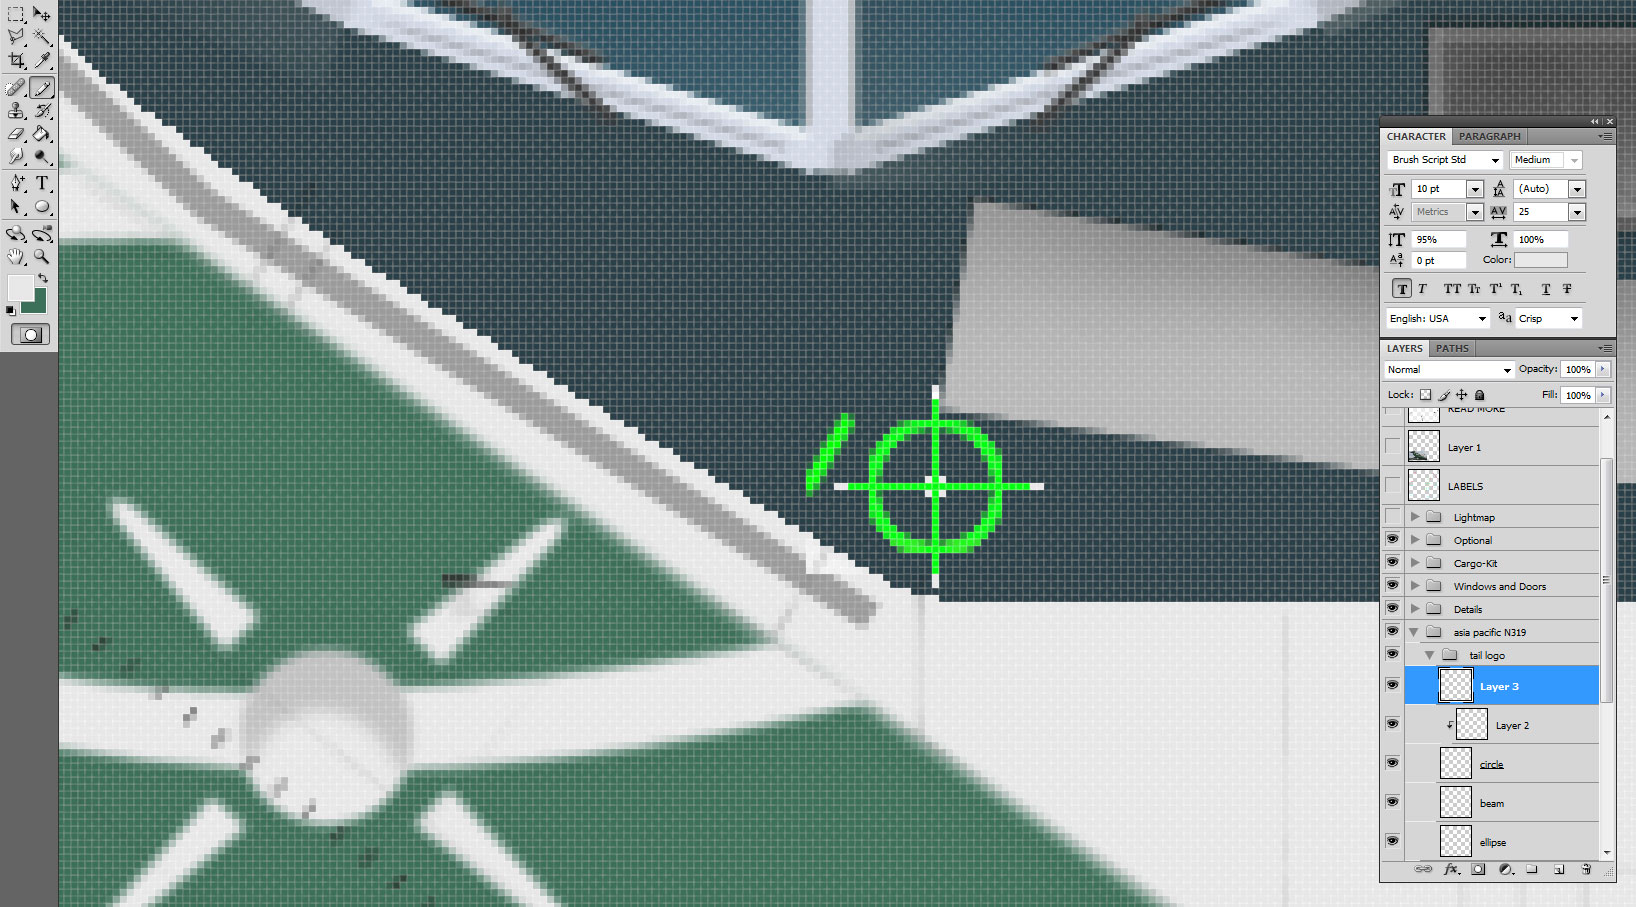
Now, we will select the tail logo group, and right click on it to make the options appear. We select duplicate group, and from the upper main menu, edit/transform/flip horizontal. Our duplicated logo is now facing the right direction and we can move it to its exact position making sure the white dots meet the cross-hair tips and centre. When doing so, make sure that the whole group is highlighted, so that all its layers will move together without changing their position respective to the other logo parts. Of course, once you are happy with the result, you can delete the last layers we added to help locate the cross-hair edges.
So now we are done with the tail, but before we move to the fuselage, let’s fix a couple of details first, lest we forget them later. The first item to fix is the leading edge. The default one is how most 727s looked like, but in this case as we have seen, it should be much larger, so we will replace it with something more adapted. Never assume that the paintkit details will be 100% accurate for the specific repaint you are doing. They usually represent a standard configuration, and in some cases, the paintkit makers will give you a choice between two or more options for the same item. And if something seems weird or missing compared to the pictures, try to find another, close-up picture to double check. These are tiny details that do not always show up clearly on pictures.
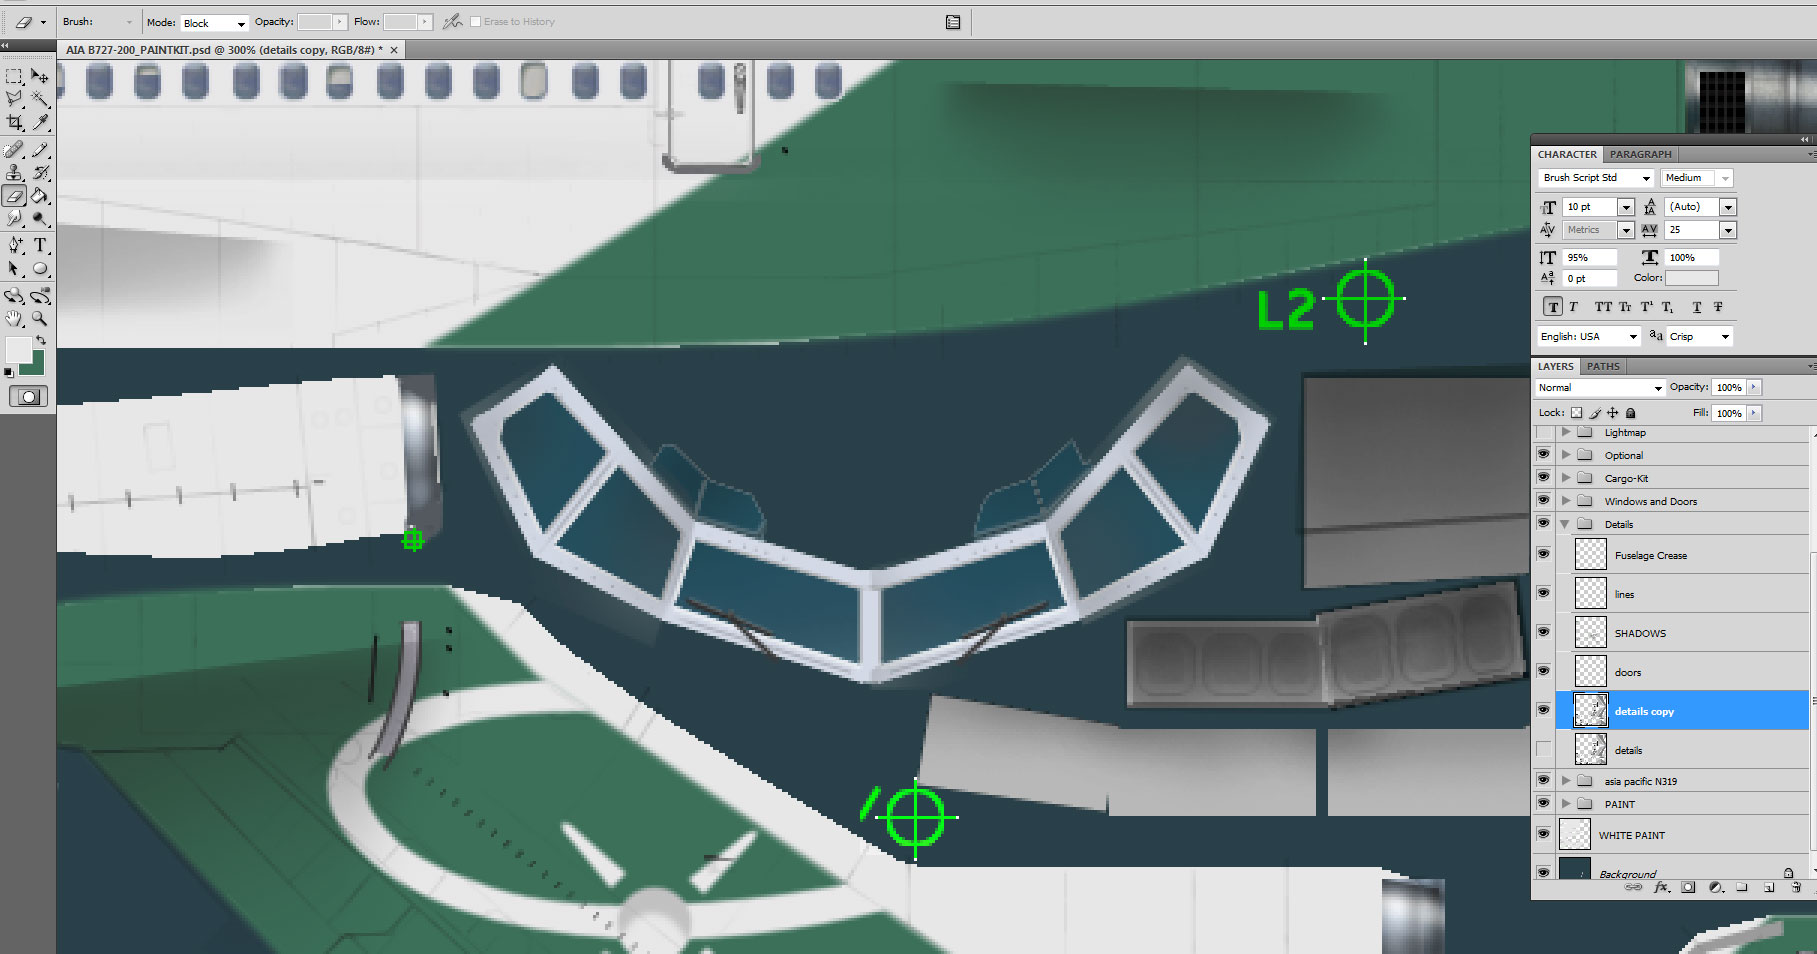
First, we will get rid of the default leading edge. We will find out that it is drawn on a layer called “details” in the paintkit, along with several other details. So obviously, we will not deactivate or delete the whole layer. Besides, we do not want to delete the default leading edge, as we will certainly need it if we later decide to make another 727 repaint. As a rule of thumb, I never delete any part of an original pk, even if I don’t make any use of it. So we will merely make a copy of that default layer, deactivate the original to make it invisible, and make any changes we want on the copy only.
Selecting the eraser tool, we will drag it over the leading edge to actually erase it. First, make sure that we are working on the “details copy” layer, not the original! When you select the eraser tool, you will notice from the upper main menu that you have quite a few options that will allow you to tweak your eraser size, opacity and so on. In this case, the easiest way is to select- or make sure that it is already selected by default- the mode type on “block”. Your cursor will turn into a white square. You can zoom in on the pk to the leading edge area, so that the cursor square is about the same size as the leading edge’s width. We want to use an eraser big enough to erase this item in one go, but since there are many other details on the same layer, we want to limit as much as possible the eraser to the leading edge itself, as we do not want to inadvertently erase more details.